

Programming Elevator Control Logic with Arduino
Table of Content
Introduction
Challenge 1: Designing Reliable State-Based Elevator Control Logic
Challenge 2: Verifying the Logic Through Structured Validation
Conclusion
Project Timeline: April 2025 ~ April 2025


Introduction
Project Context
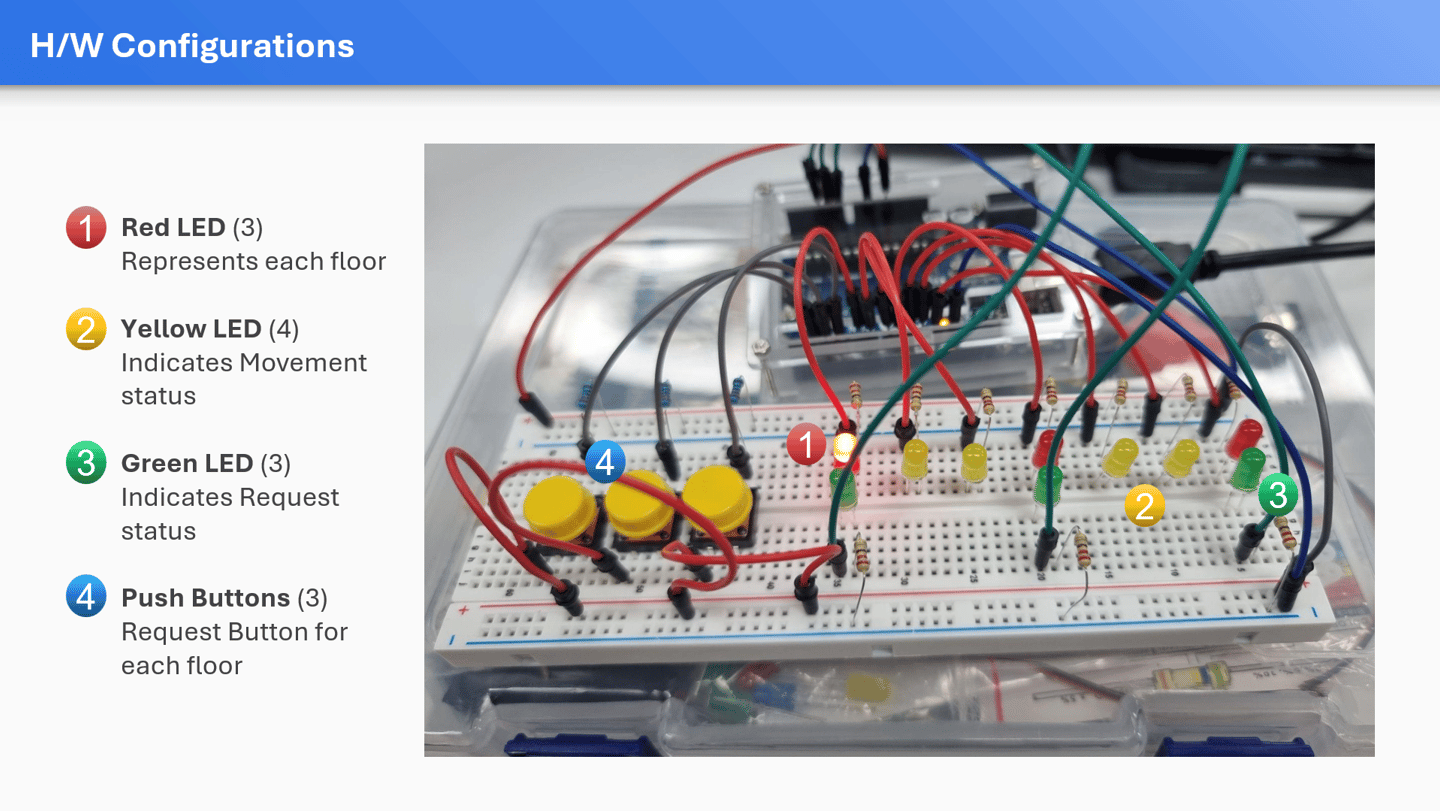
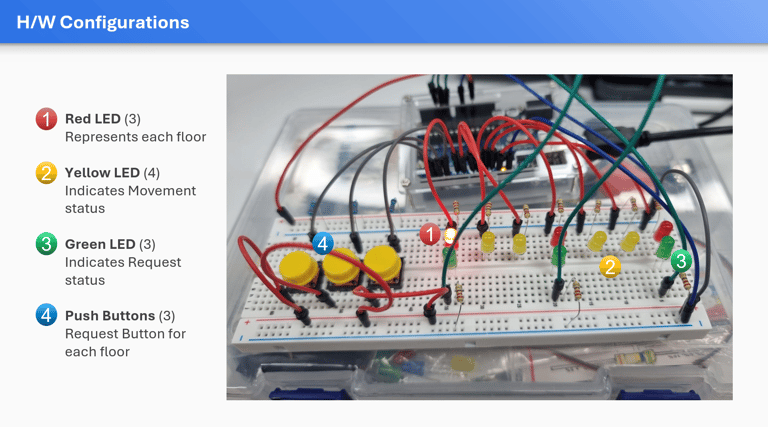
This was a one-day solo mini project completed during a six-month ROS2 Robotics Software Development Bootcamp in South Korea. The project was part of an early IoT and embedded systems training module using Arduino, a breadboard, buttons, LEDs, and basic circuit wiring.
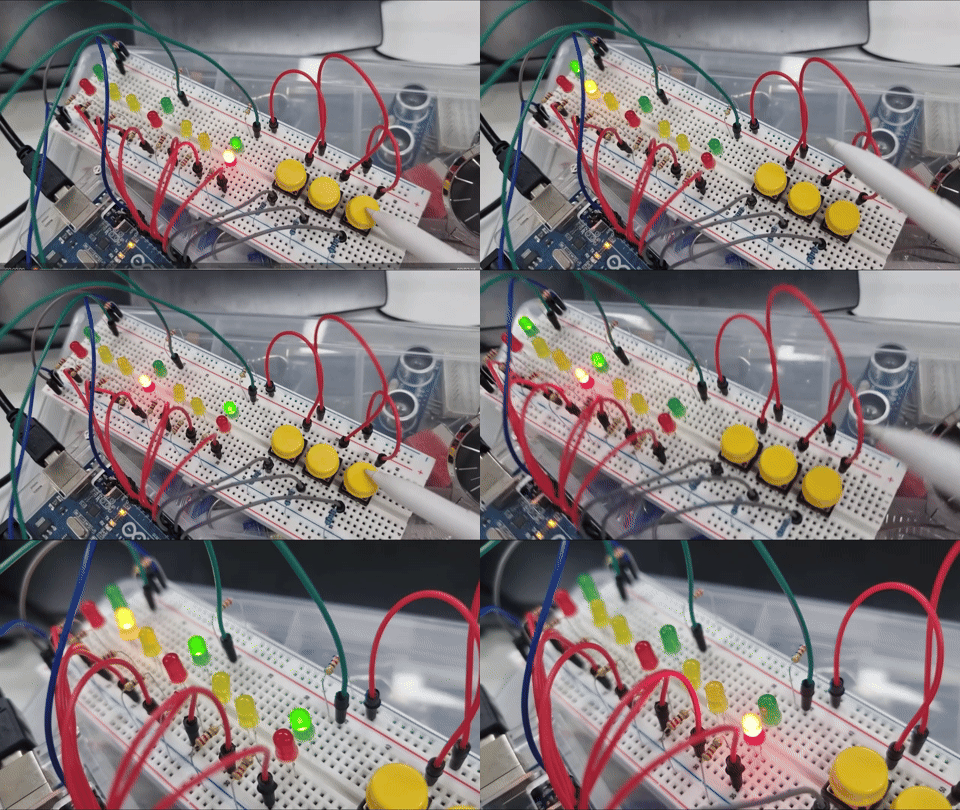
The goal was to build a three-floor elevator simulation controlled by Arduino logic.
Project Goal
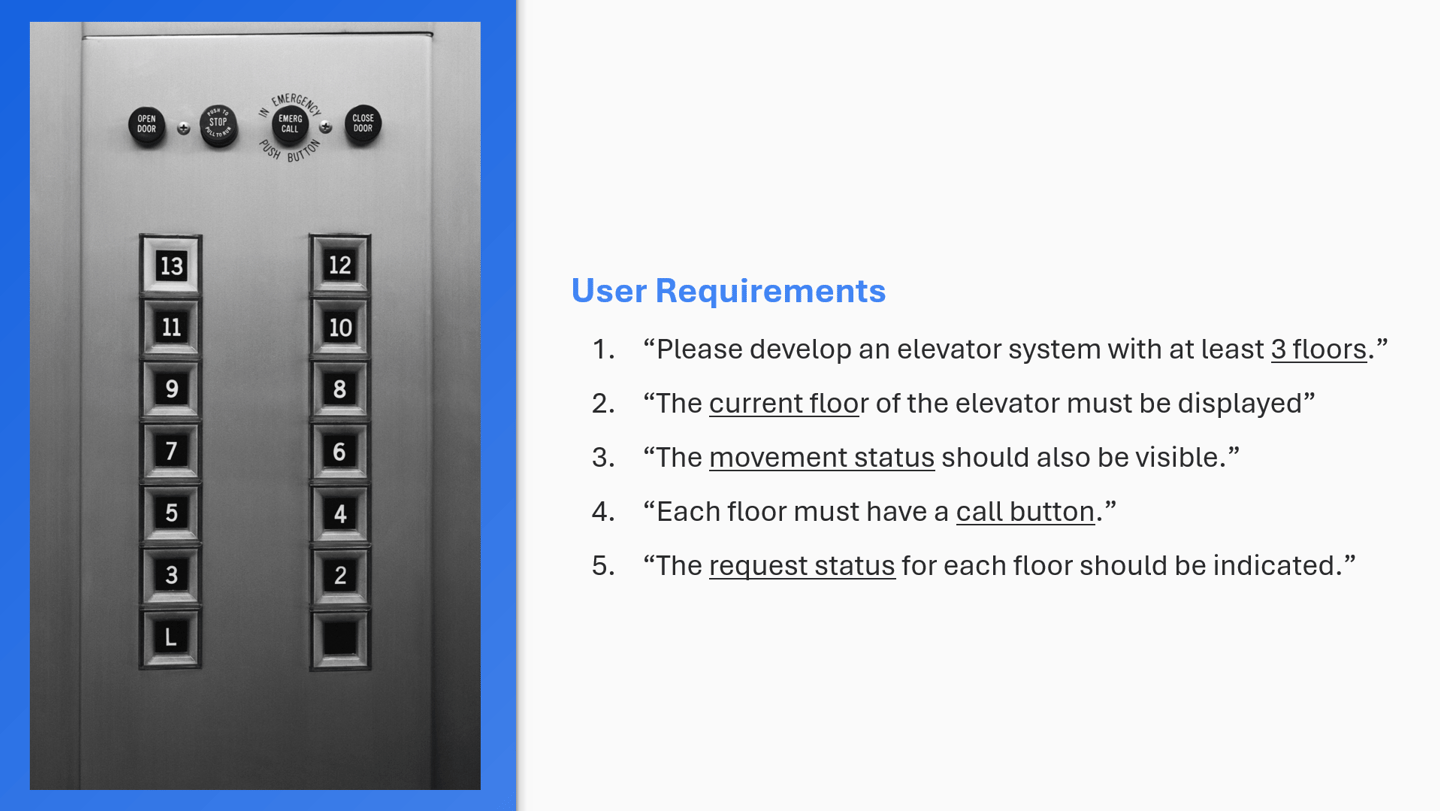
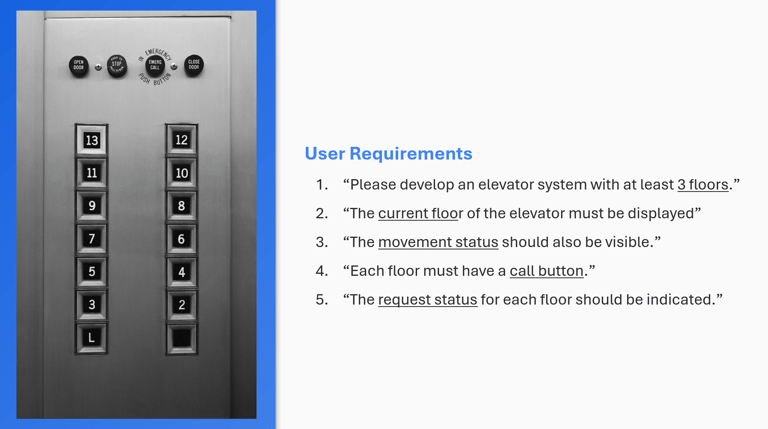
Challenge 1: Designing Reliable State-Based Elevator Control Logic
The Real Challenge Behind a Simple Hardware Setup
The project looked simple at the hardware level because it used buttons and LEDs to mimic an elevator system. However, the real challenge was designing the control logic behind the behaviour.
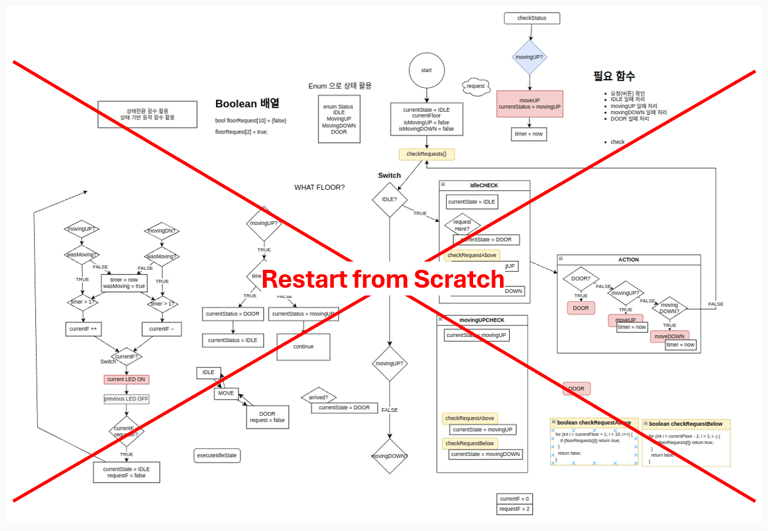
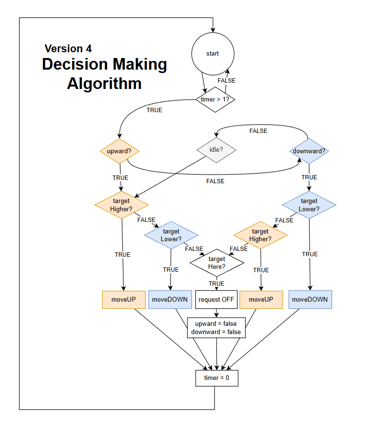
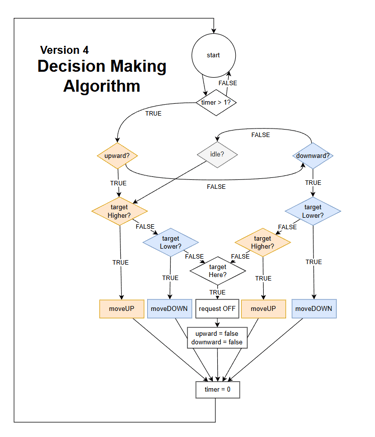
It required multiple iterations to reach the final model for the internal logic
Separating Movement, Requests, and Edge Cases
I had to avoid treating every button press as an immediate reaction. When the elevator reached the requested floor, the system briefly stopped to signal arrival, then turned off the corresponding green LED to indicate that the request was completed. At the same time, the backend system had to be always ready to accept new user requests regardless of the elevator's situation.
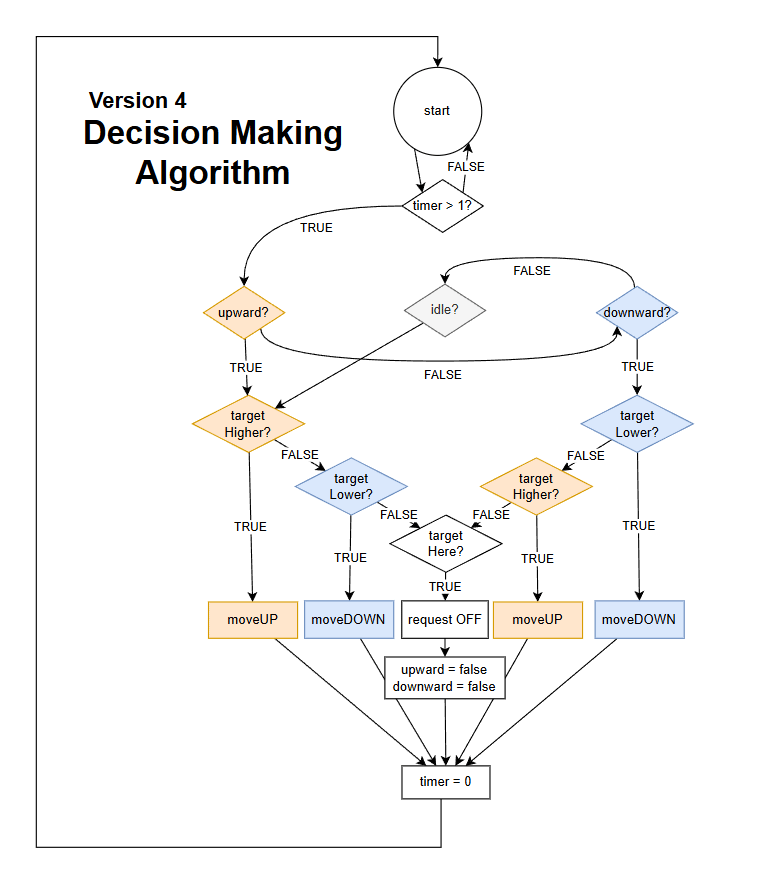
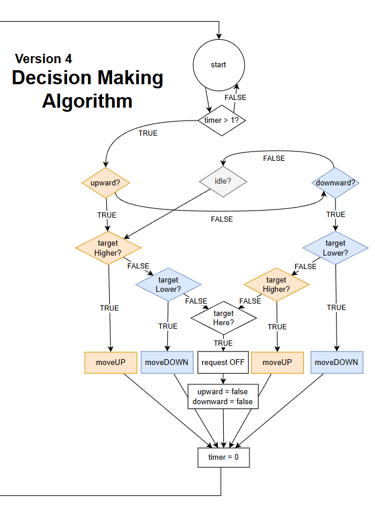
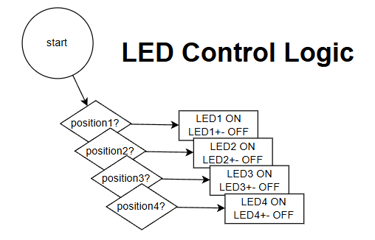
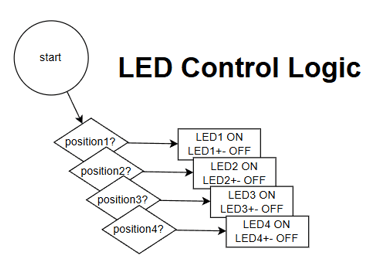
Final version of flowcharts. This was mainly drawn for my own understanding of the system, rather than strictly following the standardized flowchart format.
The logic also needed rules for repeated inputs and timing-related cases. If the same floor button was pressed multiple times, the program had to prevent duplicate requests from being registered. If a new request was made while the elevator was already moving, especially after it had passed that floor, the system needed a defined response instead of stopping abruptly or behaving unpredictably.
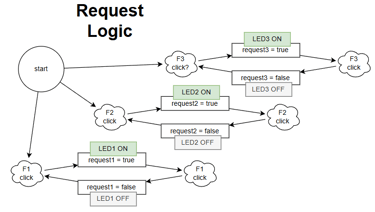
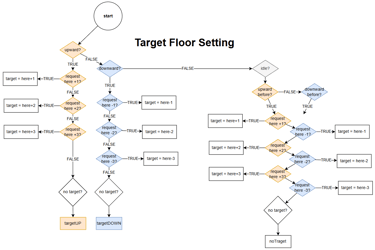
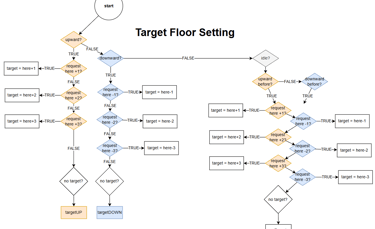
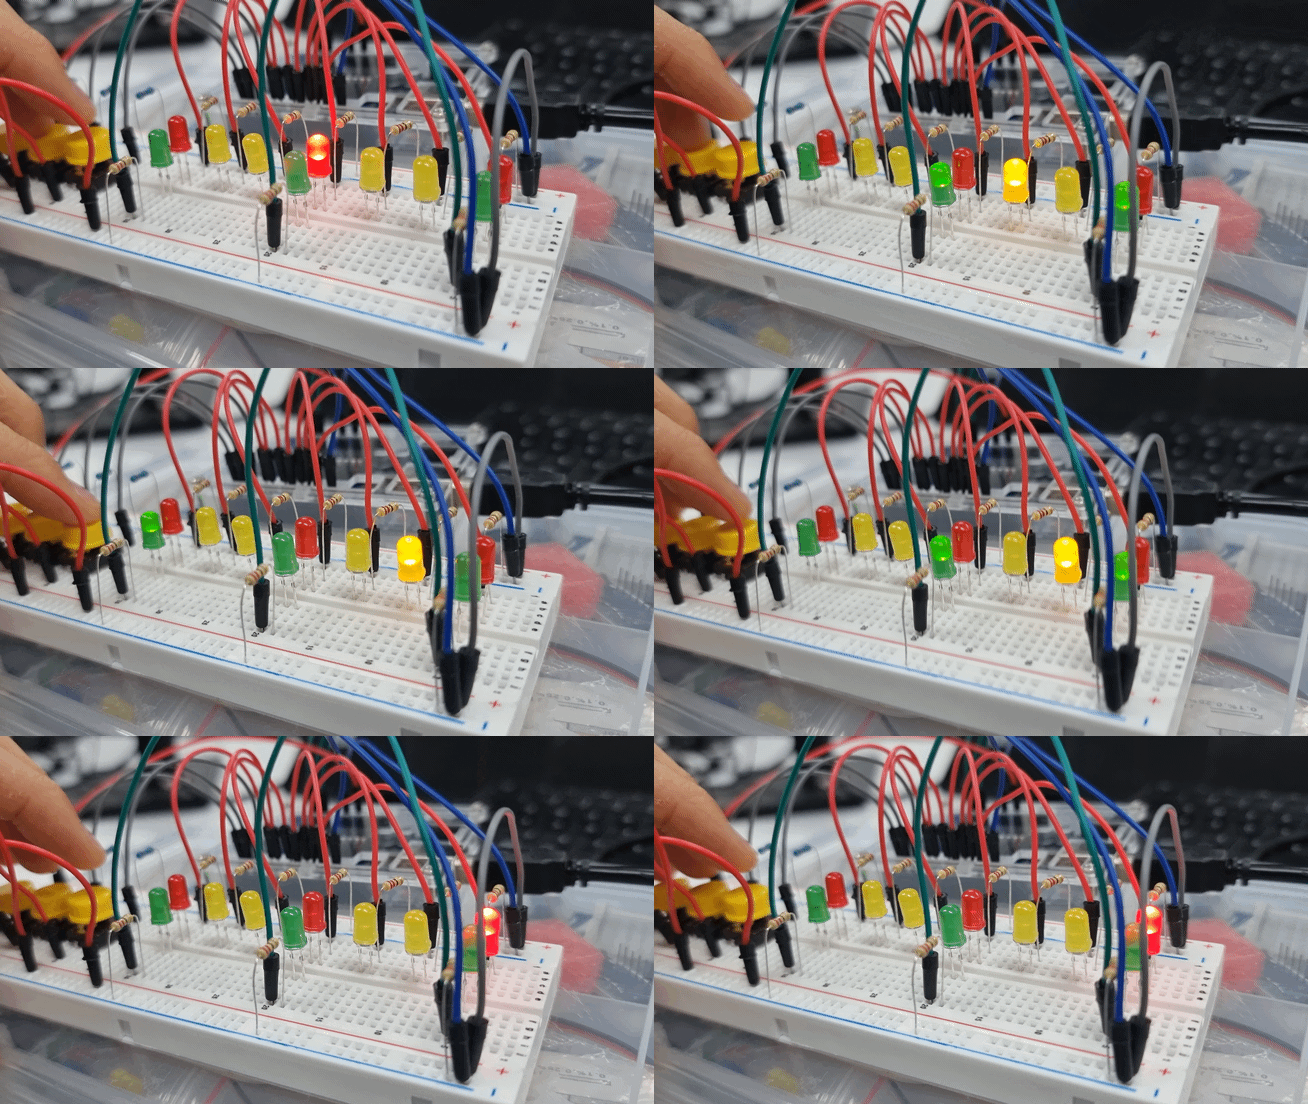
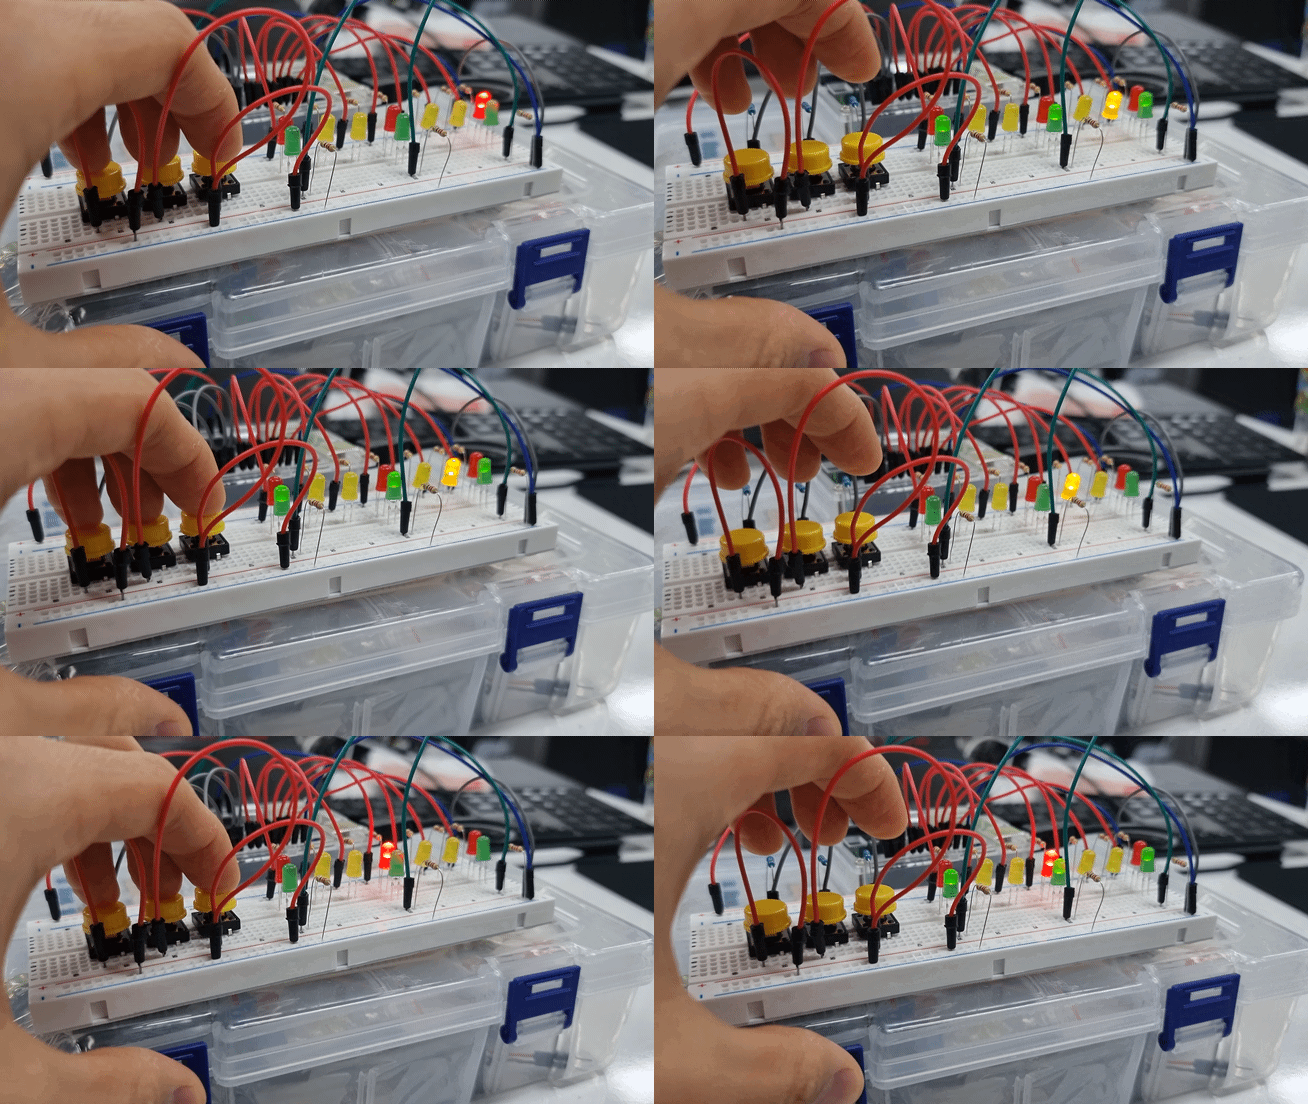
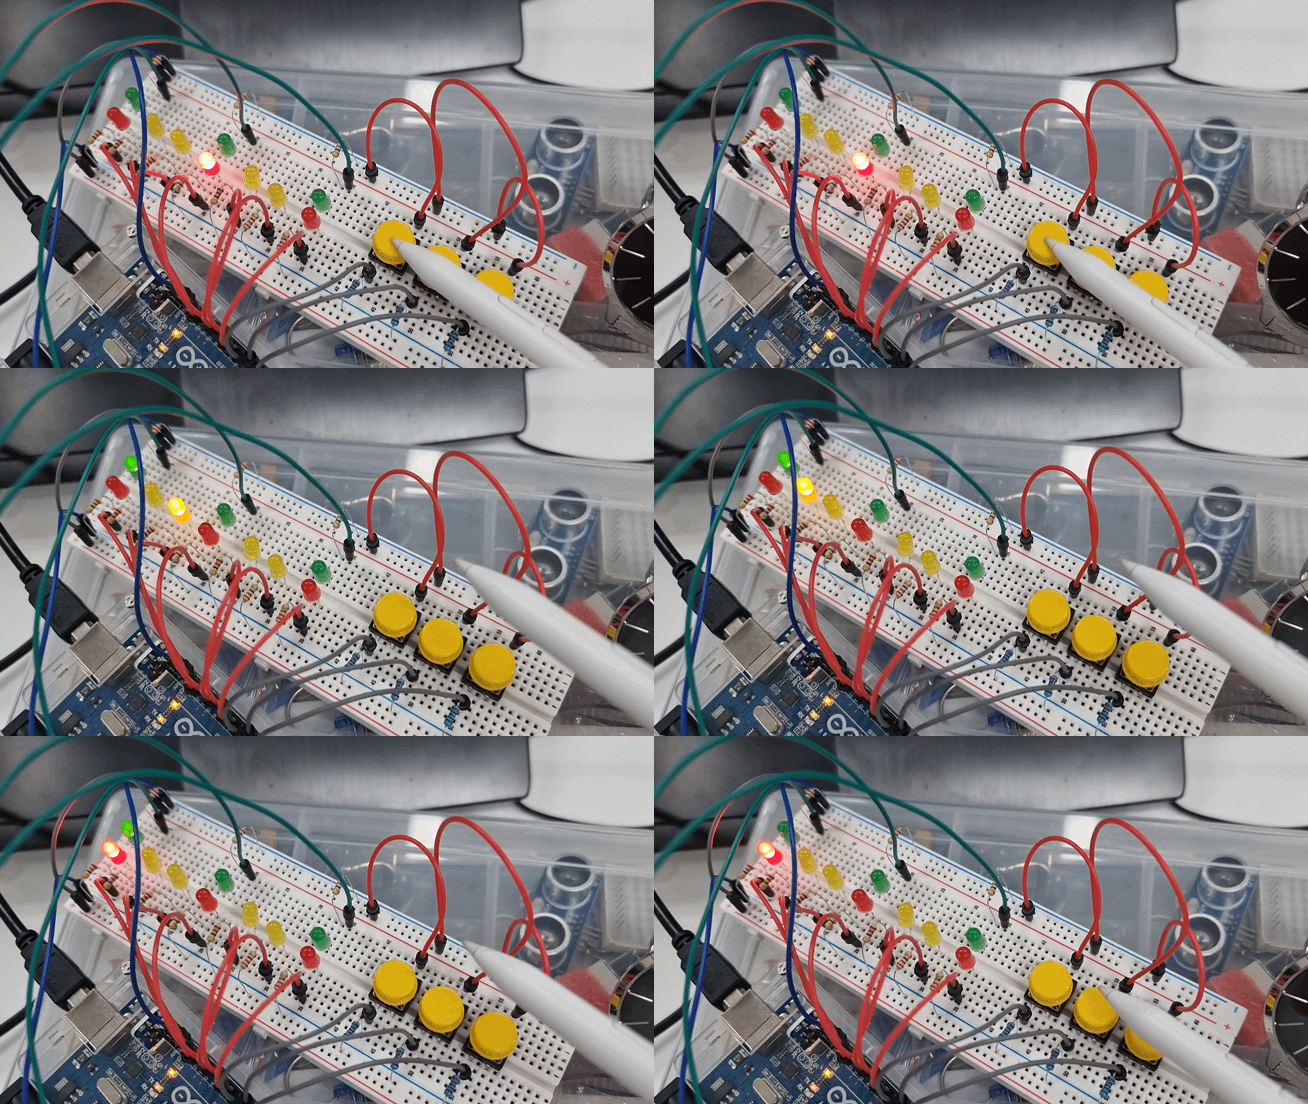
The system is responsive to incoming input while the elevator is moving due to simultaneous state handling.
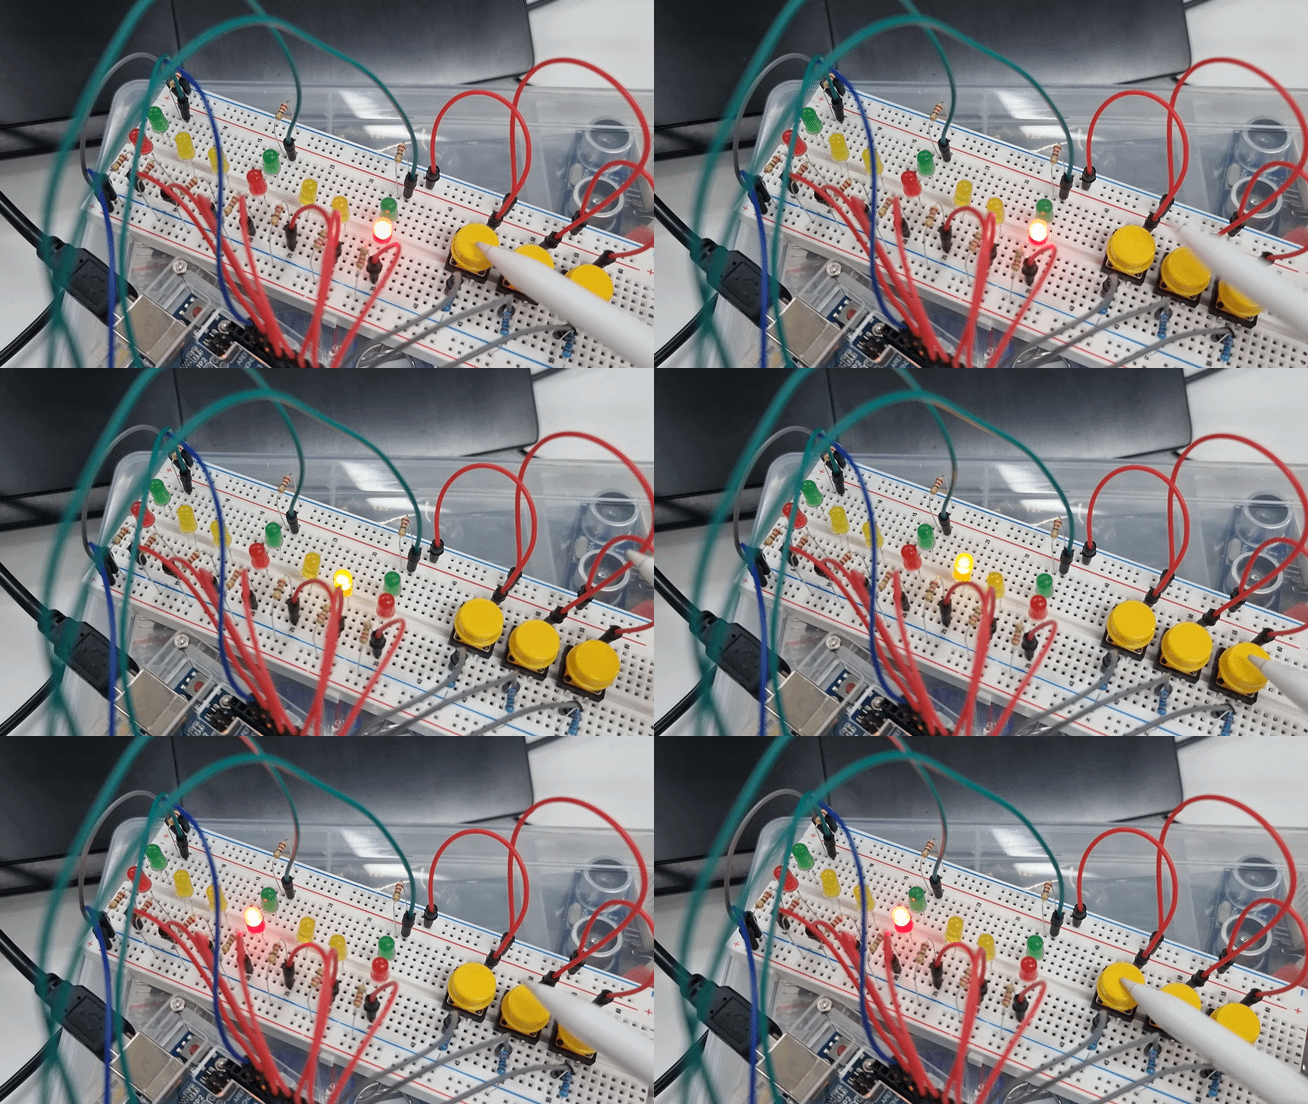
Call request can be cancelled by pressing the button twice
Keeping the Control Logic Responsive
To keep the system responsive, I used timer-based logic rather than relying solely on blocking `delay()` calls. This allowed the Arduino loop to continue checking inputs and updating states while the elevator simulated movement or paused briefly at a floor. This kept the system responsive to new button inputs while movement was already in progress.
Challenge 2: Verifying the Logic Through Structured Validation
Applying Test Case-Based Validation
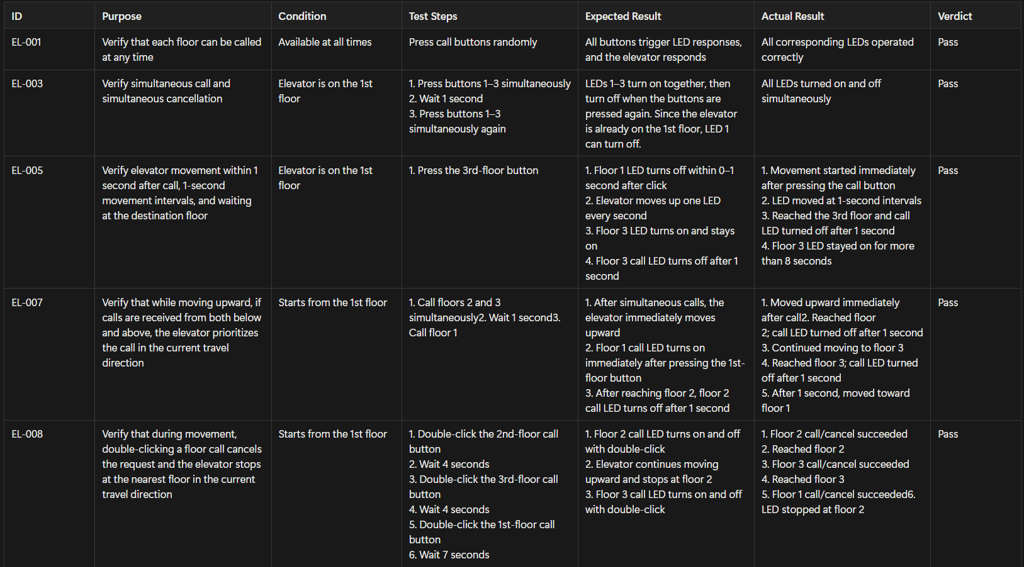
Partial example of the test cases that were used for verification process
As the elevator logic became more complex, I needed a structured way to verify that each key behaviour matched the intended requirement under defined conditions.
I applied a structured test-case format introduced during the bootcamp to verify the system more methodically. Each test case defined the test ID, user action, expected system response, and pass/fail condition. When the system did not match the expected result, I treated the failed test case as a specific debugging target.
Using Test Results to Guide Fixes
I tracked bugs and improvements with a checklist, fixed them one by one, and re-tested the behaviour until the elevator simulation ran correctly. This helped me practice the habit of checking whether the final output met the expected behaviour and quality standard, not just whether the program could run.
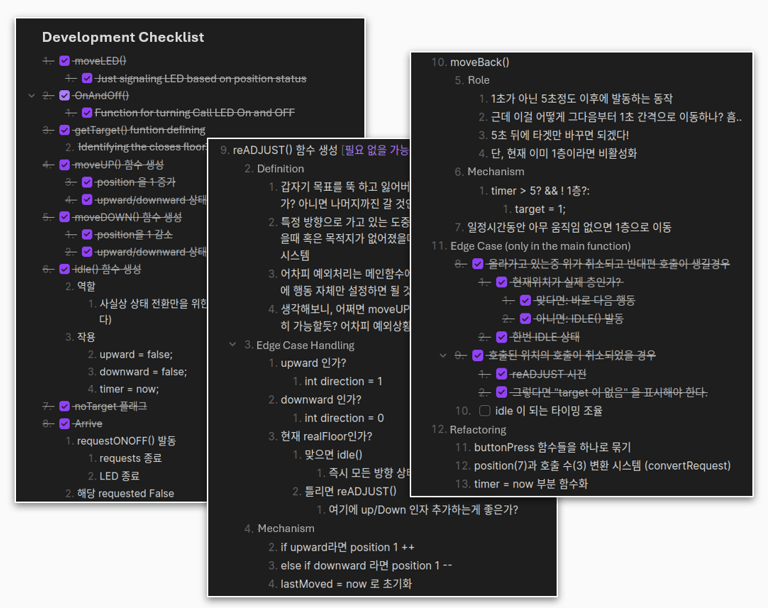
Checklist used for development and debugging (written in Korean)
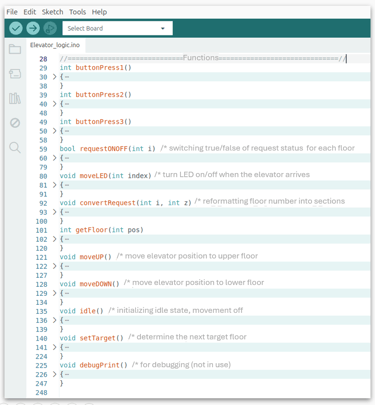
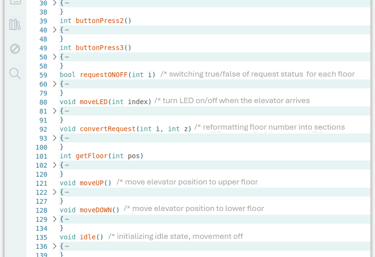
Overview of the functions
Conclusion
Outcome
The final system successfully simulated a three-floor elevator using Arduino, buttons, LEDs, and breadboard wiring. It handled floor requests, movement indication, pending request status, and request completion through working control logic.
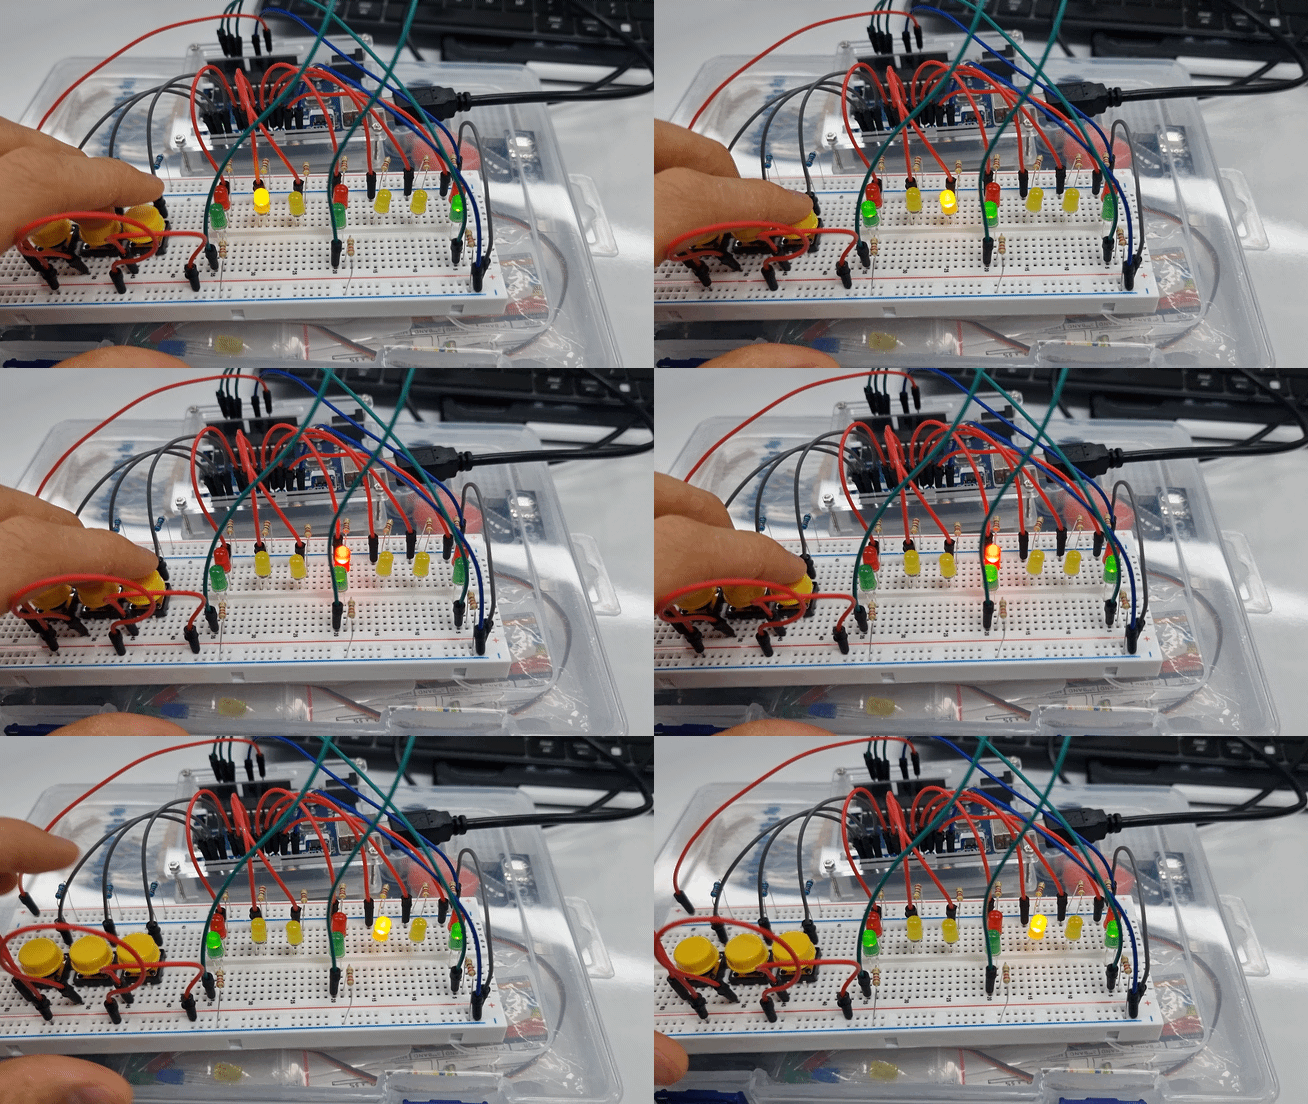


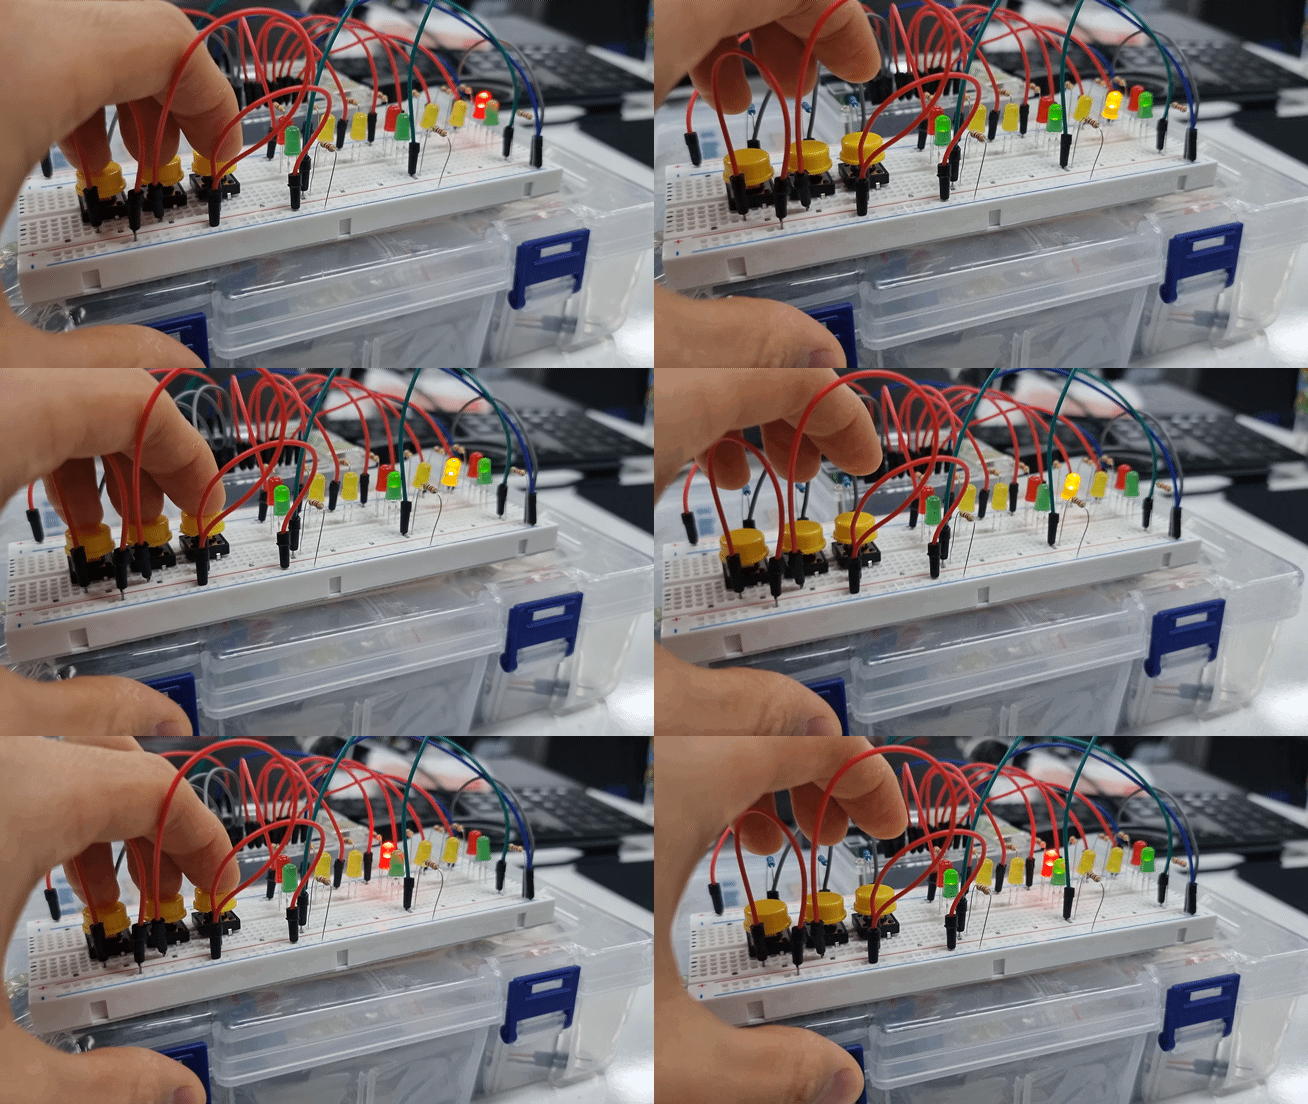

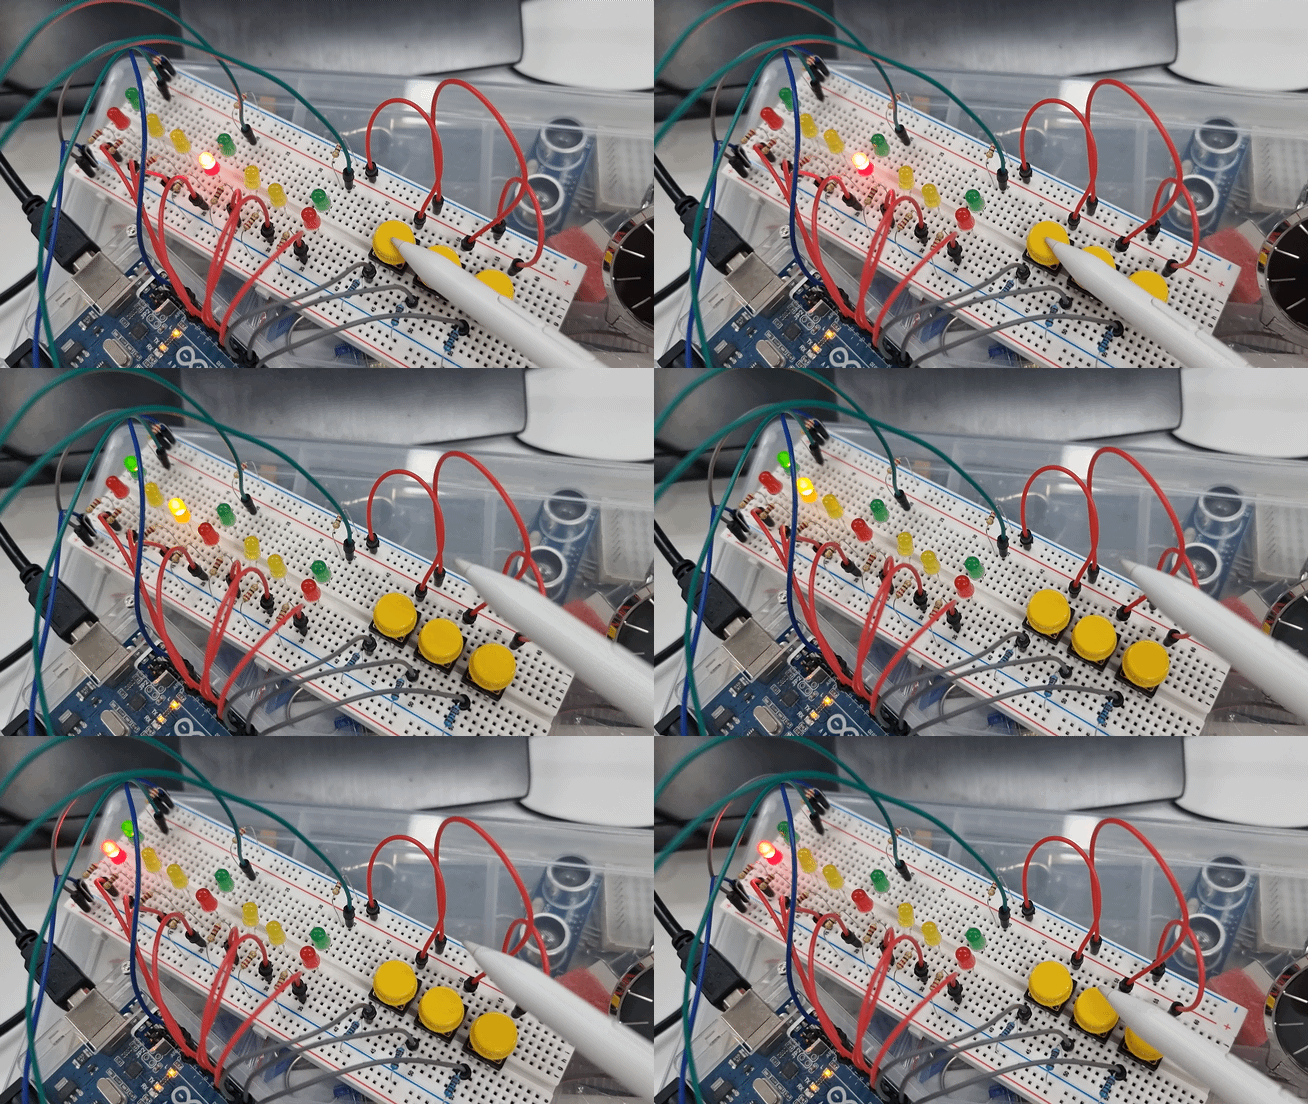
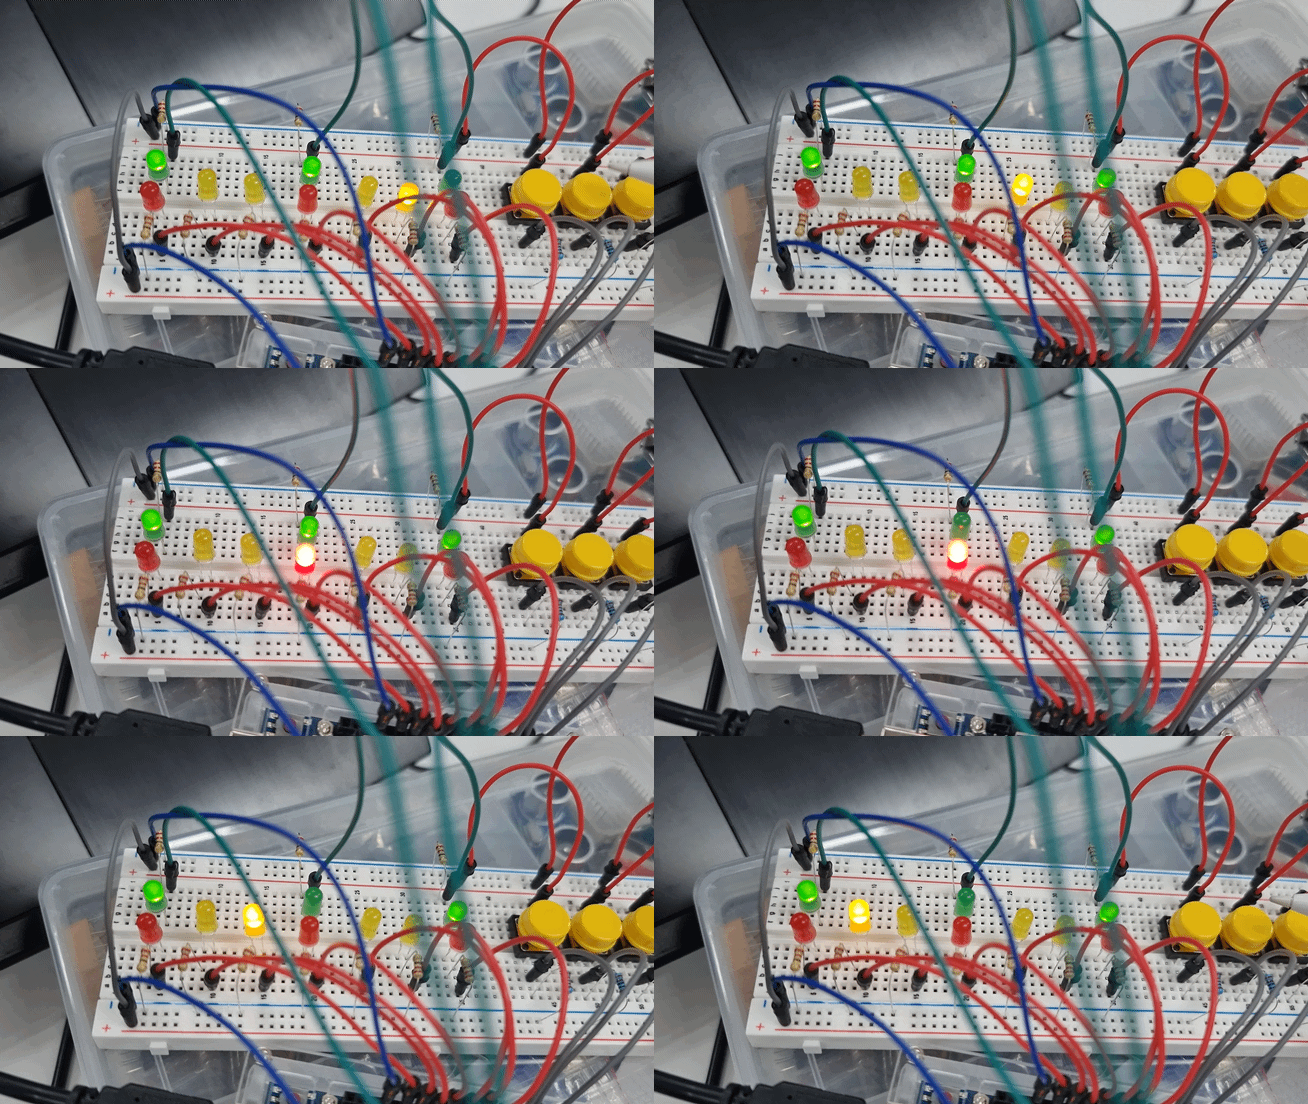


EL-001
EL-003
EL-005
EL-007
Reflection
This project became an important foundation for later system development work. It gave me early practice in designing state-based behaviour, planning logic with flowcharts, validating requirements through test cases, and using checklists to debug toward a reliable final output.